
I am so excited to introduce my original "DIY disposable pan" idea! They are such a
simple and inexpensive way to make pans in different shapes and sizes
for just about any dessert, using things like foil, parchment paper and things you might already have in your kitchen, like ramekins and tuna cans!
My DIY disposable pans are great for anything from brownies, giant cookies, layer cakes, bread and even cheesecakes!

I've made small round pans, perfect for my small batch dessert recipes, made in a parchment paper pan.


Or stick with the original heart shaped brownie!


You can also get creative and create different shaped pans using foil, like my number 2 pan

Or make geometric shapes, like I did with my cookie brownie.


--
DIY disposable heart-shaped foil pan
- Fold a long piece of foil into a long strip about 2-4 inches high. Fold it in half, open ends at top, to create the bottom point of the heart.
- Overlap the top ends of the foil strip and fold them together creating the top fold in the heart. (Staple to hold the ends together if needed.) Shape foil into a heart with your hands until you have a nice rounded heart (it doesn't have to be perfect, you will re-shape at the end). Take another piece of foil and place it under your heart. Fold the bottom foil up the sides of the pan, OVER the top and back down the inside walls of the heart.
- Re-shape pan into a heart shape.
- Spray foil pan with non-stick spray and place in the middle of a slightly larger, baking pan/cake pan/cookie sheet.
- Prepare batter and pour into pan. (recipe below)
- Smooth top with a knife or off-set spatula.
- Bake as directed in a toaster oven or regular conventional oven.
- Let cool.
- Rip/cut away foil pan.
- Enjoy!

--
DIY Disposable Parchment Paper Cheesecake Pan
- Cut a piece of parchment paper from the roll, (about 18 inches long for a 5 inch pan, shorter for smaller pans, larger for bigger pans).
- Fold it in half, lengthwise. This will help strengthen the sides of your parchment pan. Fold it in half again, lengthwise, creating a strip about 4 inches tall.
- Wrap your parchment strip around an item that is the size you would like your pan to be. In this case I wanted a 5 inch pan, which happened to be the same size as the oatmeal container I had. Cans of corn, beans, soup, etc. also work, to create mini 3-4 inch parchment pans. Or you can just eyeball it and use a ruler to create a ring in your desired size. Staple the sides together, making sure there is a row of at least 3 staples where the parchment is connected (a staple on top, bottom, and in the middle).
- Line the bottom of a cake pan or cookie sheet with parchment paper, and place your parchment ring on top, in the center. Press in crust, fill and bake. Then Peel away parchment ring (being careful of staples) and serve!
 --And if you don't want to make your own pans, get creative and use things you have around the house!I use things like bread loaf pans and oversized tuna cans (wash them out well and make sure they are oven safe!), to make tiny sheet cakes and layer cakes!
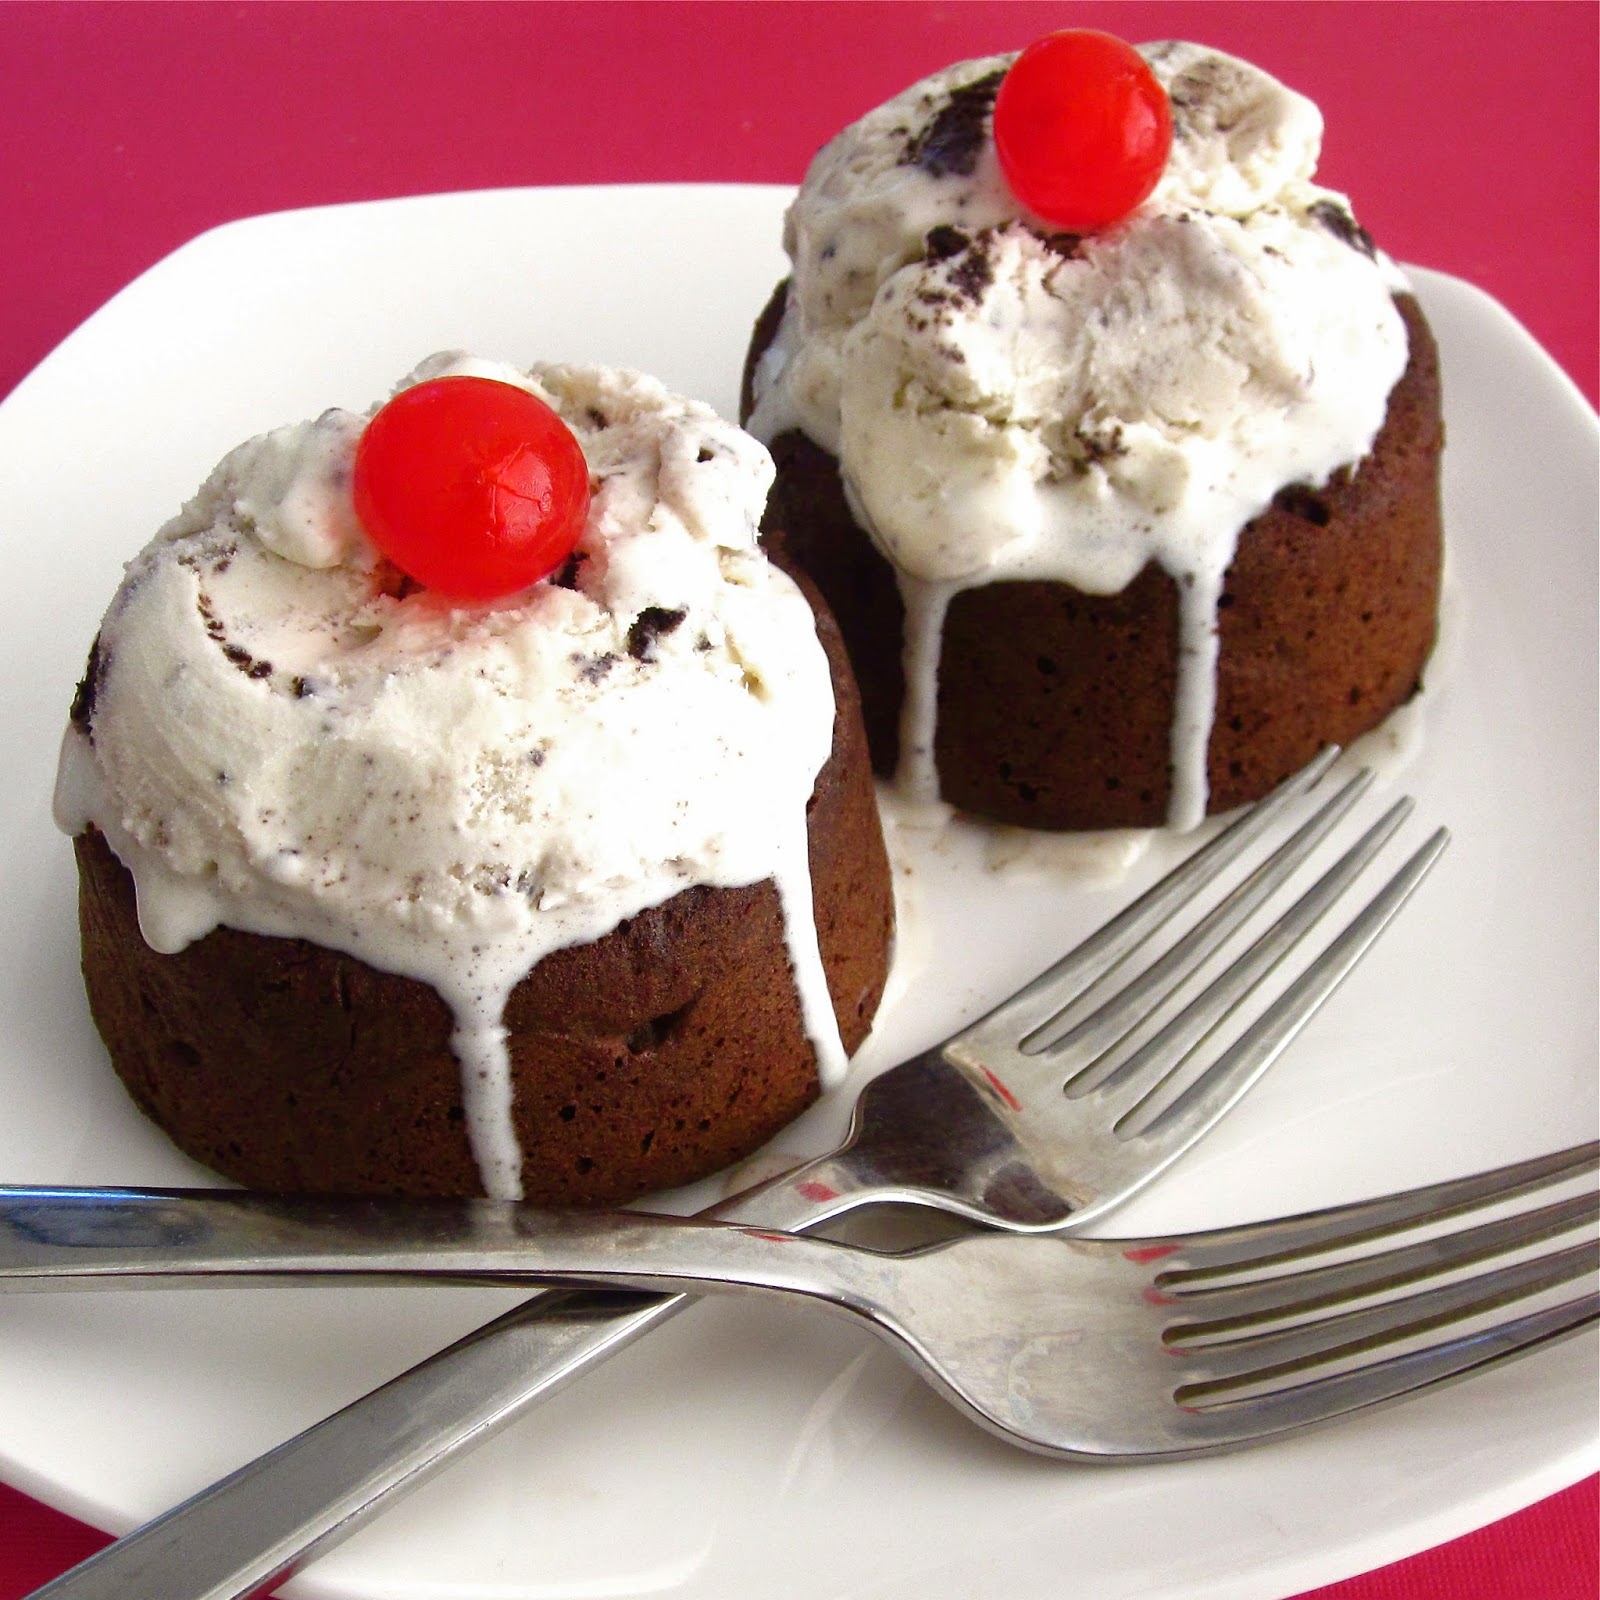
 Try using ramekins for single serving desserts, like my brownie sundaes for 2
 You can even bake a cake in a ceramic mug, like I did in my 3 Minute Single Serving Double Chocolate Chip Mug Cake

